Making CYBER
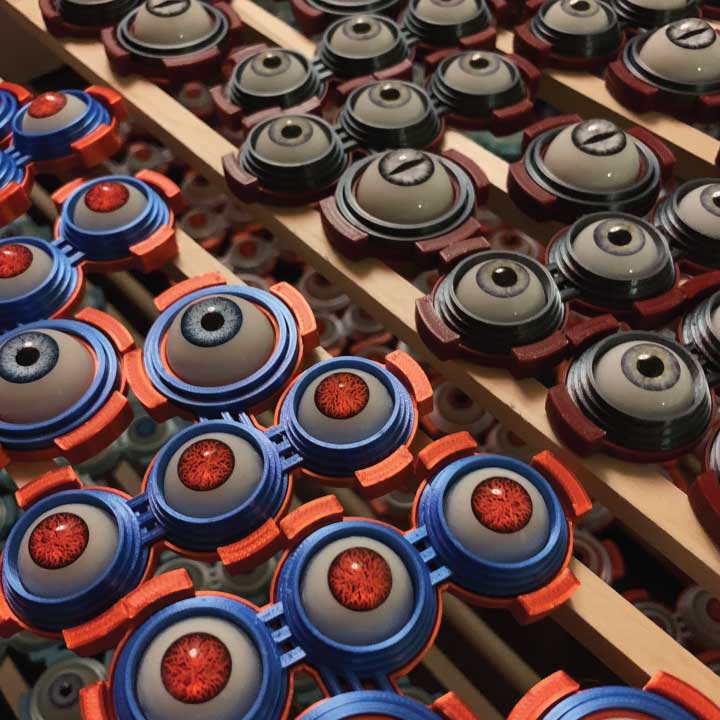
I did not plan on making 800 of these buttons ... but, here we are.
–––––––––––––––––––––––
Goals for this piece, the 2nd of major production pieces, were:
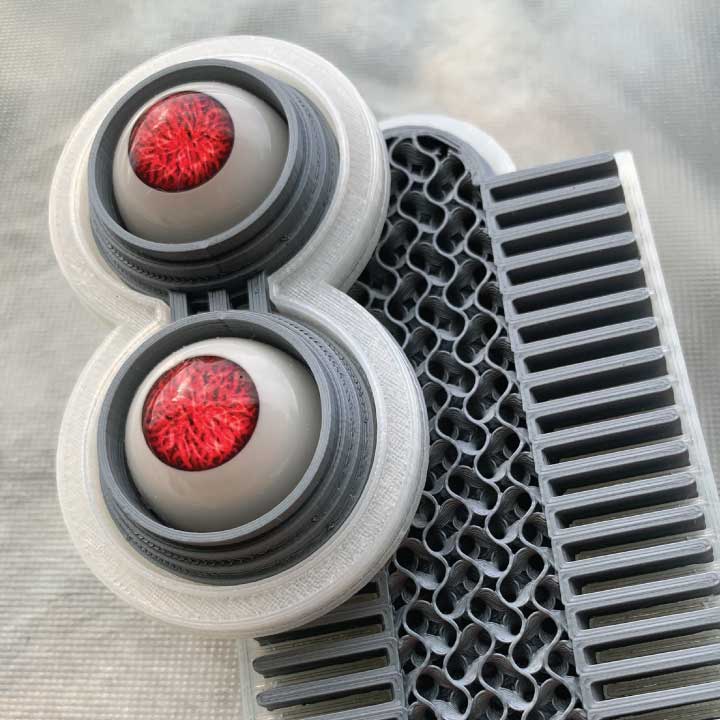
• First use of two eyeball sizes
• Larger in size, to fill the lapel
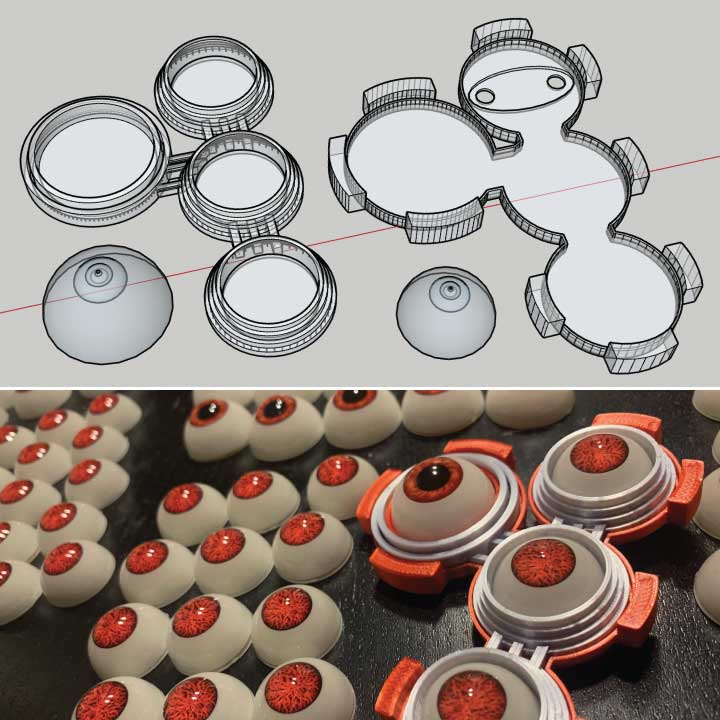
• Printed in 2 pieces instead of 3
• Embedded pin instead of glued on
• 3 color styles instead of 15
I wanted to avoid getting dragged into a major production slog lasting months. I failed miserably.

Cannibal
Artists will often cannibalize their own art. It takes us all to a place which never existed before.
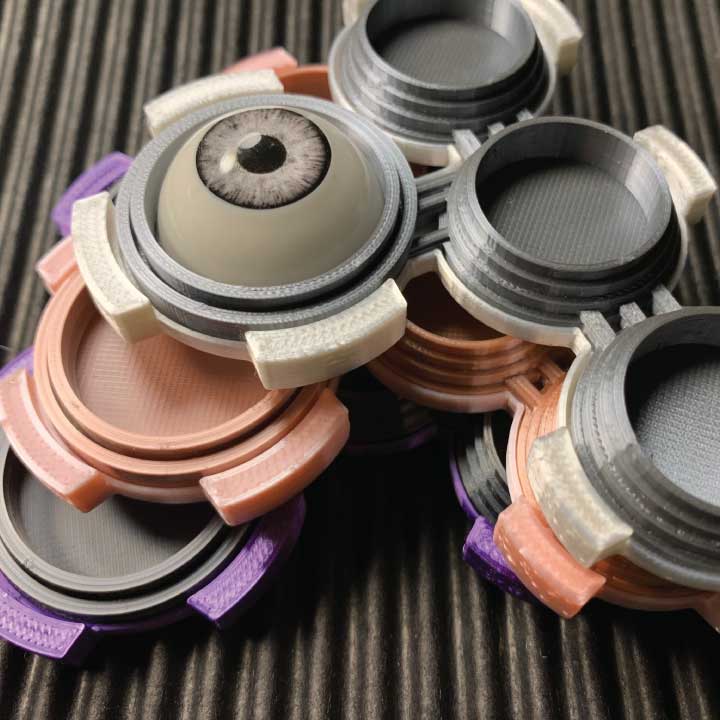
The messy genesis of CYBER began with the eyeball socket on this piece called RADIATOR.
At this point, I really didn't know the drawing program so I began with something I knew would print.
I started here and built it out using parameters outlined above.

Testing Vision
STEAM, the first production piece in the Ocupuncture project, was just a damn mess to draw and test.
I learned, again, that seeing something pleasurably funky on my computer screen doesn't mean it will easily become physical reality.
I have some experience in product design. It seems most products start life in a shit storm. Still, It gets to be a real pain in the ass.
This means endless cycles of yanking the memory card out of the printer, tweaking or redrawing the art, reformatting the art and heading back to print city.
Once it prints perfectly, the next step is to print out each piece in every color of plastic in the studio. This takes three months.
With a pile of printed pieces and an army of eyeballs on the table, awesome pins become a matter of snapping stuff together in every conceivable configuration until the pin is just too awesome to ignore.
Then you print forty of each.

Air Time !
Each colorway in a given program goes through the same process.
First is pre-glue ... where the printed parts are joined and the button pin is attached. I buy super glue in bulk to assemble these buttons.
These can be boxed, as super glue will not affect the PLA plastic I use.
Next, I put on my super meticulous, artesian hand-assembler hat. I insert the eyeballs with great care.
This is where the shit gets real. Super glue bonds instantly ... and there can be no glue squeeze-out.
Notches have to be sanded off the eyeballs. Each eye has to be sanded flat on the back for solid, permanent fit. All the eyes are dry-fit first to insure proper alignment.
Once eyes are set in sockets ... each brooch spends minimum 30 days on the dry rack under constant air movement under fans.
I learned the hard way that superglue eats at the acrylic eyeballs. Total disaster.
These things have to be totally dry, completely inert before they ship out.
Lastly, while bagging product I randomly test eyeball adhesion to insure permanent set.
