Making Steam
Printers were in and assembled. Big box of eyeballs were in fresh from China. Go Time!
I had drawn some test pieces for the printer as a sort of shake down cruise. They will all be made available here.
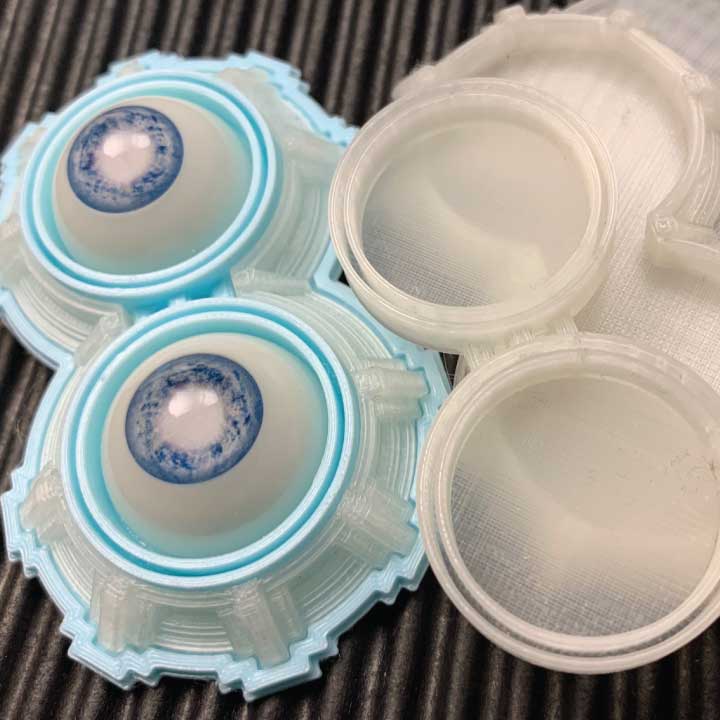
My plan from the start was to nest layers of color within other layers and so create sockets for the eyeballs. Precision of manufacture is key.
I had goals for this piece:
• Test nesting - once pice sitting within another.
• Testbed to really learn everything .. all phases of drawing, printing, assembly and storage.
• Design had to be simple yet pushed to the max for detail.
• Design had to be both SteamPunk friendly and acceptable otherwise.
Flung Together
It cost a thousand trips back & forth between laptop and printer. I had to tweak, trim and test this thing until I found out how it was all going wrong.
Totally cut my teeth on this piece.
Here's what I learned.
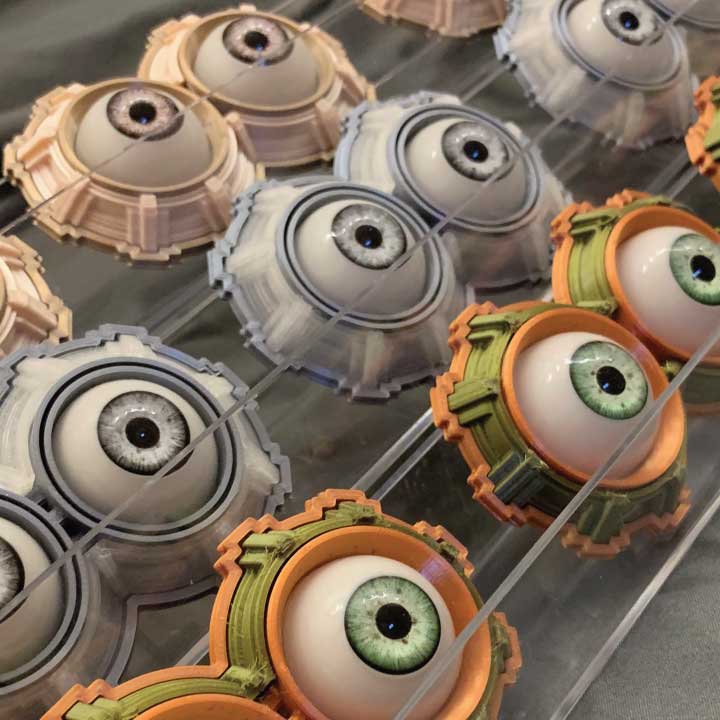
BACK_The bottom piece can mirror and add detail perfectly from the above layers.
Width needs to be perfect so it won't soak up color attention from the middle or the eyeballs, which are the focus of this whole project.
MIDDLE_This is where the main statement is made. The piece is defined here in the middle.
Since the top & bottom need to be same color (and the eyeballs need to pull out of the top) there is design and color opportunity here in the middle.
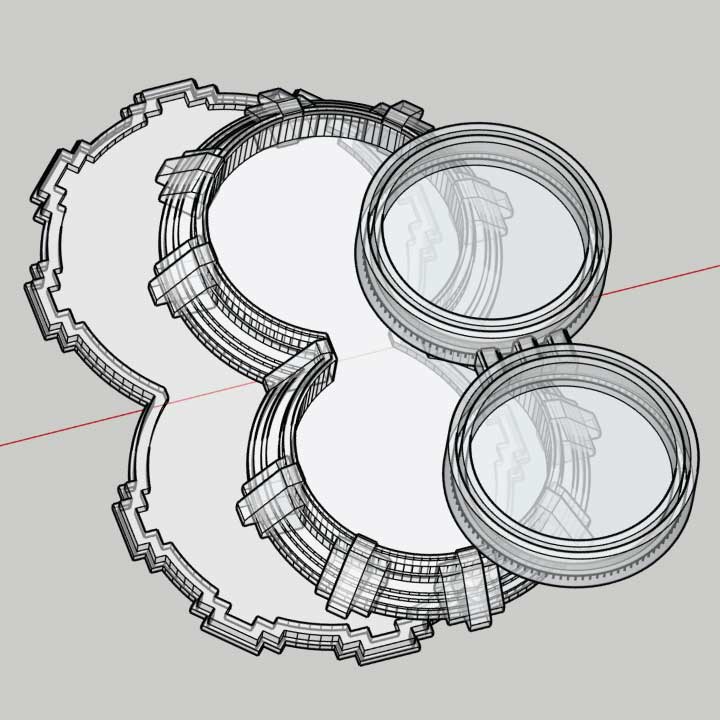
TOP_See those two concentric rings there acting as the eyeball sockets? This is where it got crazy.
"How crazy would it be if ..." seems to be my main art ethic. It just hit me to try this. Could the printer do nested rings like this, half a millimeter wide, and do it perfectly and consistently?
It can. Was news to me.
The Mess Test
It takes 3.5 hours to print one of these. 3d printing is not for the impatient. Gotta plan ahead.
I printed for days to get a first solid piece. It was Steam_ELIZABETH.
From this I learned that I would have to do exactly what I did not want to do ... which was to print this thing out in every color I had or could get.
Took weeks.
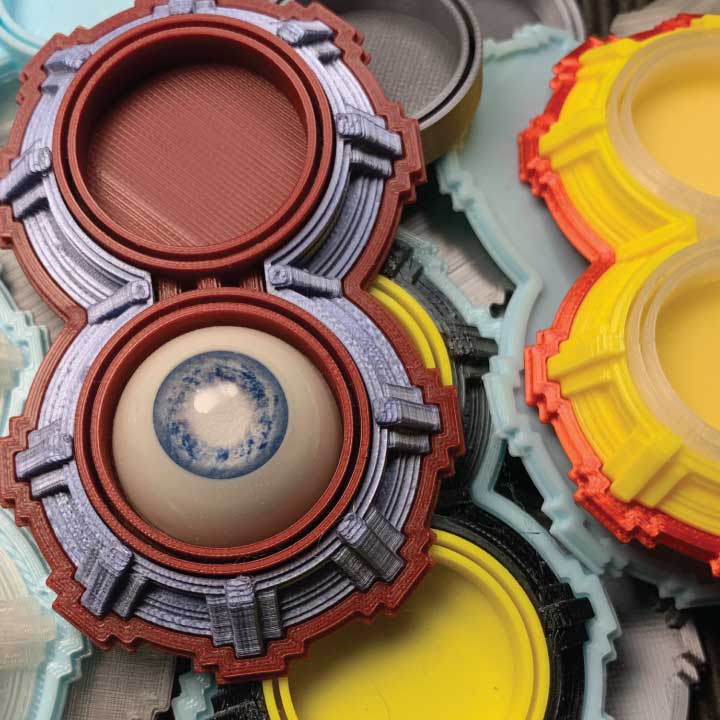
Next, I would need to spread all the eyeballs out and snap all the different color combos together until something clicked.
Turned into a siege ... but I won.
Colorways fell into some awesome grooves.
- Blended Earth Tones
- Royal Metallics
- Expressive Pastels
- Semi Sci-Fi
- Steampunk-ish
- Criminal GONZO
Get it Together
Colors are set. Here comes my first small production run. So excited.
And ... the eyeballs ghosted. Totally filmed over. Cataracts. Awful.
I found out the super glue I was using for assembly was fine on the PLA printed plastic from the printer. However, the fumes will eat the acrylic eyeballs.
And the fumes are heavier than air.
I built drying racks. I bought fans.
Each piece takes hours to print. Eyeballs need to be sanded and dry fit to insure proper alignment.
Each piece sits on the dry rack for 30 days before it is bagged for shipment.